Set Up A Status Page
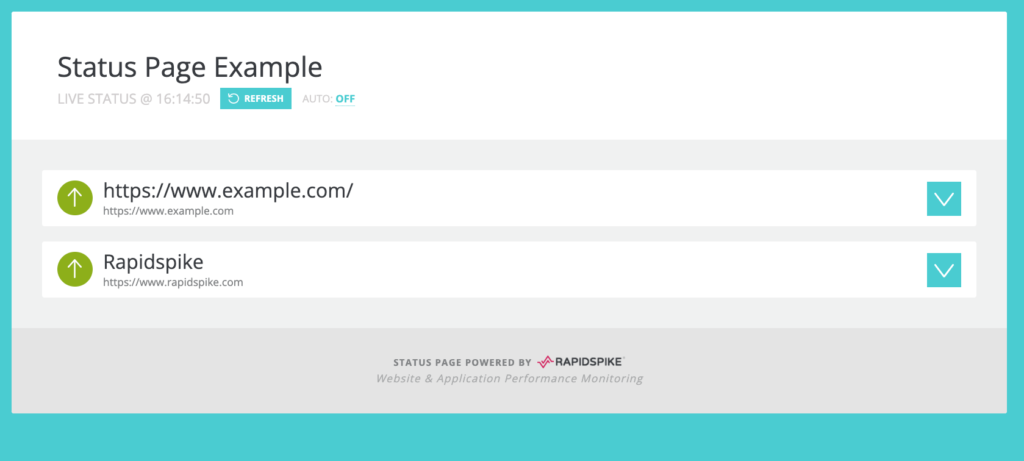
A Public Status Page allows you to deliver real-time monitoring information about your site. You can customize the appearance of the page and select the relevant data to be displayed. You can include any of your websites and monitors that you want to display on the page.
Where to find Status Pages in RapidSpike
Go to Settings > Public Status > Status Pages to view a list of all existing pages.
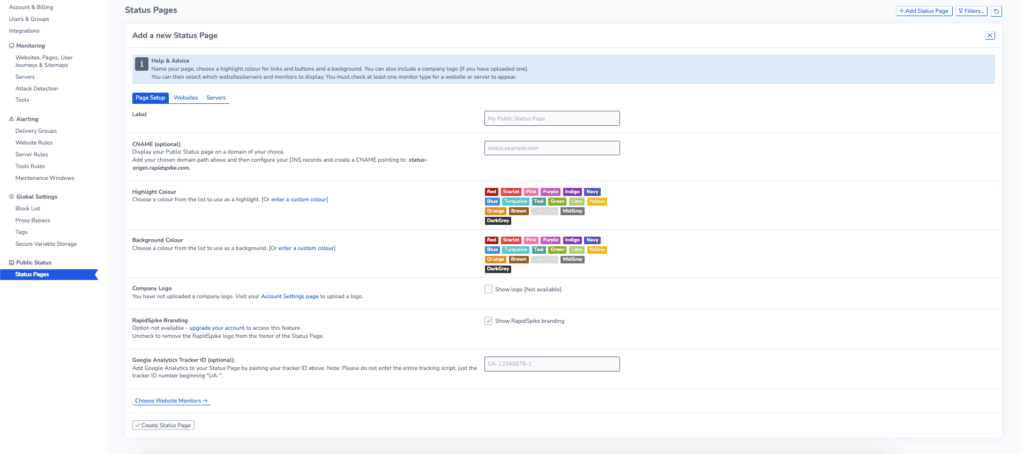
Creating a new Status Page
Click the Add Status Page button located in the top right corner.
Follow these steps:
- Create a Label.
- Enter a CNAME to display your Public Status page on a domain of your choice (optional)Add your chosen domain path above and then configure your DNS records and create a CNAME pointing to: status-origin.rapidspike.com.
- Select a colour for Page Highlights and Background. You can use one of the preset colours or select a custom colour.
- Add your company logo.
- Remove RapidSpike Branding (if applicable).
- Add your Google Analytics tracker ID.
- Choose the websites or servers to display

For each website you can choose which monitors you want to display. There is also the option to display notes.

Editing and removing pages
To modify an existing page, simply click the cog icon next to the page you wish to alter. Next to the “Edit” button, you will find the “Delete” button, which allows you to remove an existing page.
Accessing pre-existing Status pages
Each Status Page is assigned a unique URL. If you are not using a CNAME to display a custom domain, you can also share this URL publicly to allow customers to view the page.

Add Notes to a Status page
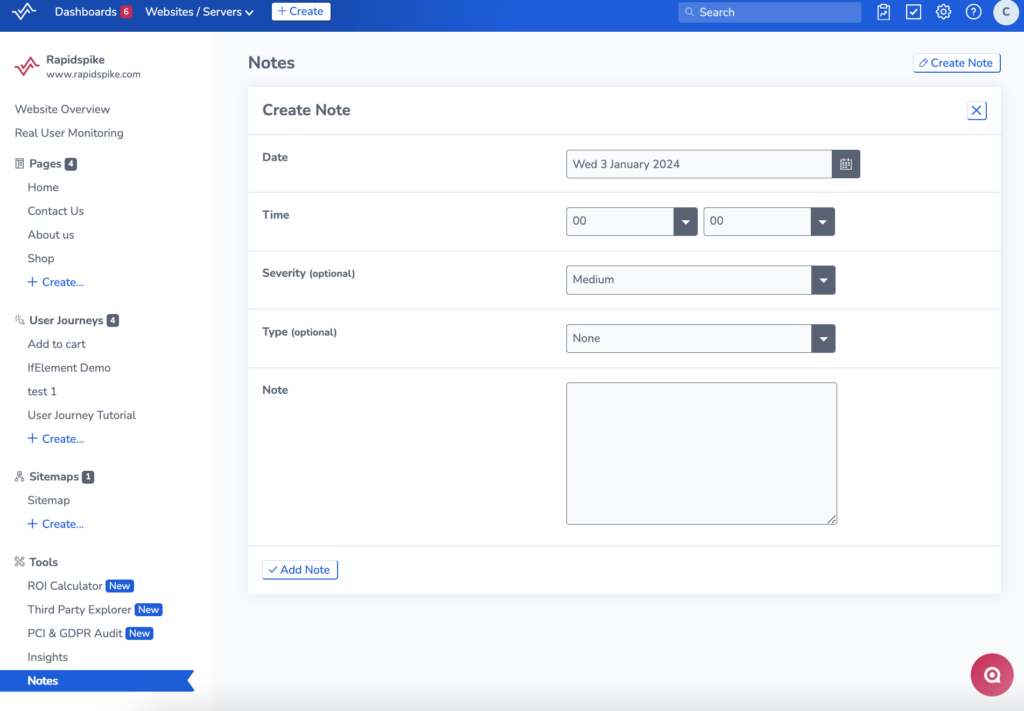
You can add notes by going to websites > your website > notes and clicking create note. You can enter a date and time as well as the severity and type of note.

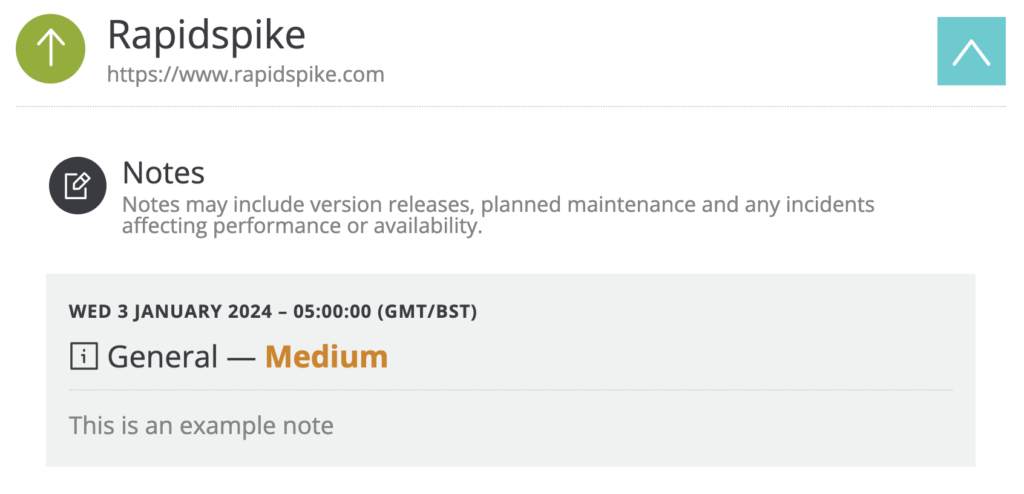
The new note will be displayed on the notes section of your status page if you have display notes enabled.
